Behind the Page: From Sketch to Printable Coloring Sheet
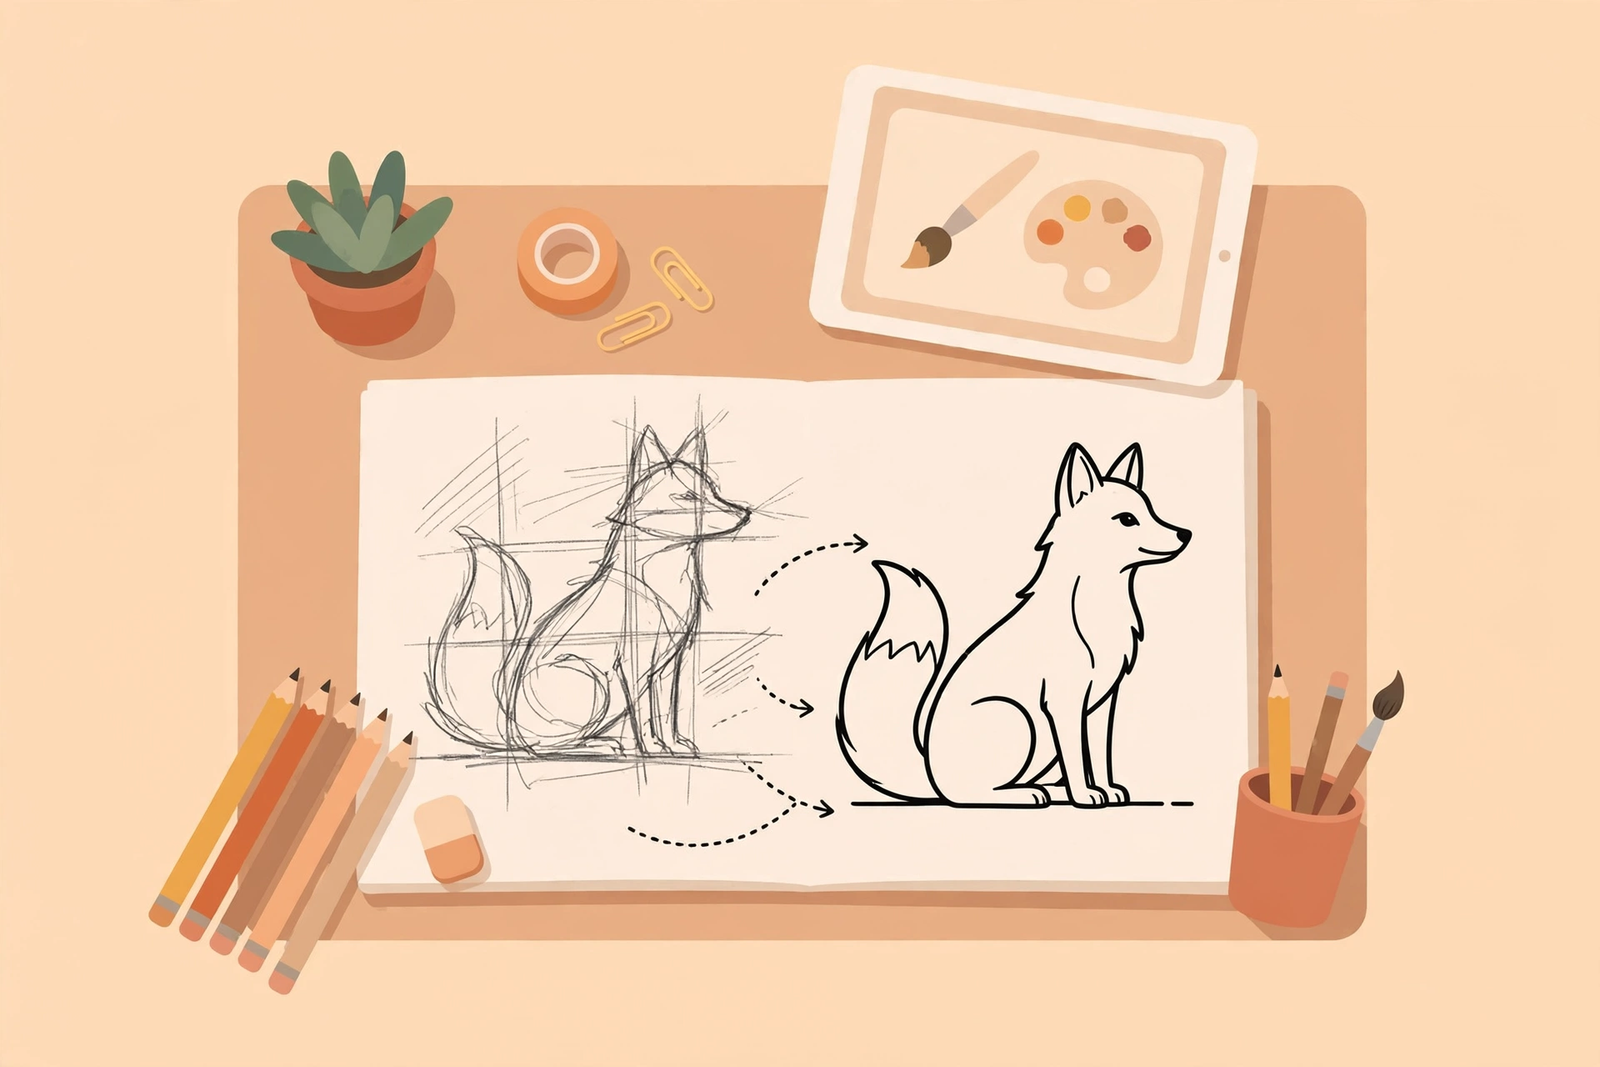
Every page you print started as a scribble.
People sometimes assume a coloring page is just a photo run through a filter. It isn't — at least not the ones worth printing. A good coloring sheet is a small design problem: bold enough for a toddler, interesting enough not to be boring, and built to survive a home printer. Here's the honest, start-to-finish look at how a page goes from a scribble on a notepad to the file you download.
1. The idea and the brief
It starts with a simple question: who is this page for? A page for a three-year-old and a page for a ten-year-old are completely different animals — literally, sometimes. We decide the subject, the difficulty band (Easy, Medium, or Detailed), and the target age before a single line is drawn, because those choices shape everything after. A Cute Puppy for little ones gets three or four big shapes; a detailed page gets layers and texture.
2. The rough sketch
Next comes a loose pencil sketch — messy, proportions wobbling, ideas being tried and thrown out. This is where composition gets solved: is the subject centered, does it fill the page nicely, are there big open areas that are satisfying to color? A surprising amount of time goes into removing things. Clutter that looks fine in a drawing becomes a nightmare of tiny regions when someone tries to color it.
3. Clean line art
The rough is redrawn as clean vector line art with one priority above all: uniform, confident outlines. Every line is the same weight, closed so colors don't "leak," and thick enough to stay solid when printed. We avoid shading, gradients, and gray fills entirely, because those muddy a print and confuse a young colorer about what to do. The result is pure black on white — the format that prints crispest and colors best.
The golden rule of the studio: if a line can be removed without losing the picture, it probably should be. Simplicity is a feature, not laziness.
4. The color test
Before a page is approved, someone actually colors a test print. It sounds obvious, but it's the step most templates skip. Coloring it reveals problems you can't see on screen: regions too small for a crayon, a gap where color escapes, an area so large it's tedious. If the test print isn't fun to color, it goes back to step three. This is also where we catch print issues — the kind we help you solve in why coloring pages print faded.
5. Export, name, and publish
Finally the page is exported twice — a print-ready PDF and a PNG — at full US Letter and A4 size, 300dpi, on a pure white background. Files are named to match their web address so nothing gets lost, alt text is written so the page is accessible and searchable, and a short, honest description is added. Only then does it join a category and go live.
Why the process matters to you
All of this is invisible when you hit print — and that's the point. The bold lines that a small hand can follow, the open areas that make coloring satisfying, the clean file that doesn't jam your printer: those aren't accidents. They're the payoff of a page being made rather than mass-generated. Next time you print one, you'll know the scribble it came from. Explore the collections and see the results across mandalas and beyond.